If you’ve been on a boat in the summer, you know how hot it can get. And if you’ve opened up a boat after a long absence, you know it can be a bit stale. We decided to address both of these problems.
Adding a Solar Vent Fan
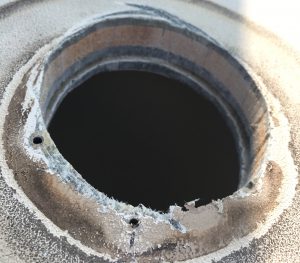
We’ve talked for a while about adding a solar fan to the boat. We thought that having air moving through the boat would make it more pleasant, and be good for the interior as well. We finally worked up the nerve to pull out the existing passive vent above the head, thus opening a 3″ diameter hole in the cabin top. We then discovered that the 3″ Nicro solar vent fan we bought actually needed a 3-3/4″ hole. A trip to Home Depot resulted in a 3-1/2″ hole saw, the closest they had. Fighting with a hole saw that big to enlarge a pre-existing hole in fiberglass is not fun. I finished the job with a jigsaw, which is the only tool I’d use next time.
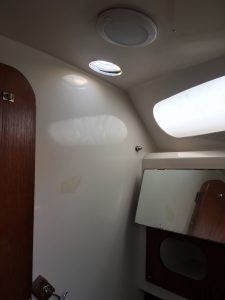
After enlarging the hole, we mixed up some fibreglass epoxy. We followed the directions to mix up a test batch to make sure it hardened correctly, but then got impatient, mixed a new batch and went to work. We used the epoxy to fill the old screw holes, and to saturate and seal the exposed edges of the core. Once this was done, we checked on our test batch, which hadn’t hardened at all.
Some further investigating determined that we had been sold the wrong set of pumps for the hardener. We had 5:1 pumps, but the hardener required a 3:1 ratio. Some frantic Googling drew the conclusion that we needed to remove the incorrectly mixed epoxy, and start from scratch. Then we did some fancy math to figure out how to get a 3:1 ratio out of 5:1 pumps. We cleaned off the old epoxy, and re-applied the new batch. This time it hardened up nicely, and we were ready to install the fan.
After a bead of silicone, we installed the threaded bracket, then threaded the fan in place. The inner trim ring was next, and this resulted in an uneven gap, since the cabin liner was not an even distance from the cabin top itself. I plan on filling that with silicone to make it look nicer. It might be just the placebo effect, but Les is certain that the cabin seemed fresher every time we open it.
Adding Cabin Fans – Main Cabin
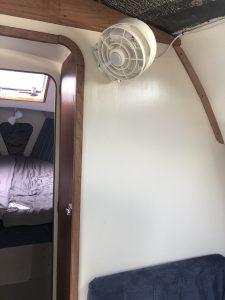
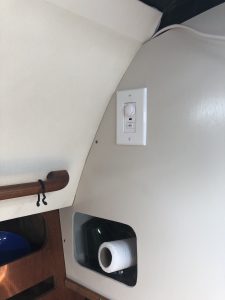
We actually already installed a fan in the main cabin, a nice Caframo Maestro with an integrated light and remote switch. This was done a while ago, but it made sense to add it to this post. We attached the fan itself to the bulkhead between the cabin and closet, and found a spot next to the companionway that was in easy reach, and had enough depth behind that we could flush mount it in plastic outlet box.
V-berth Fan
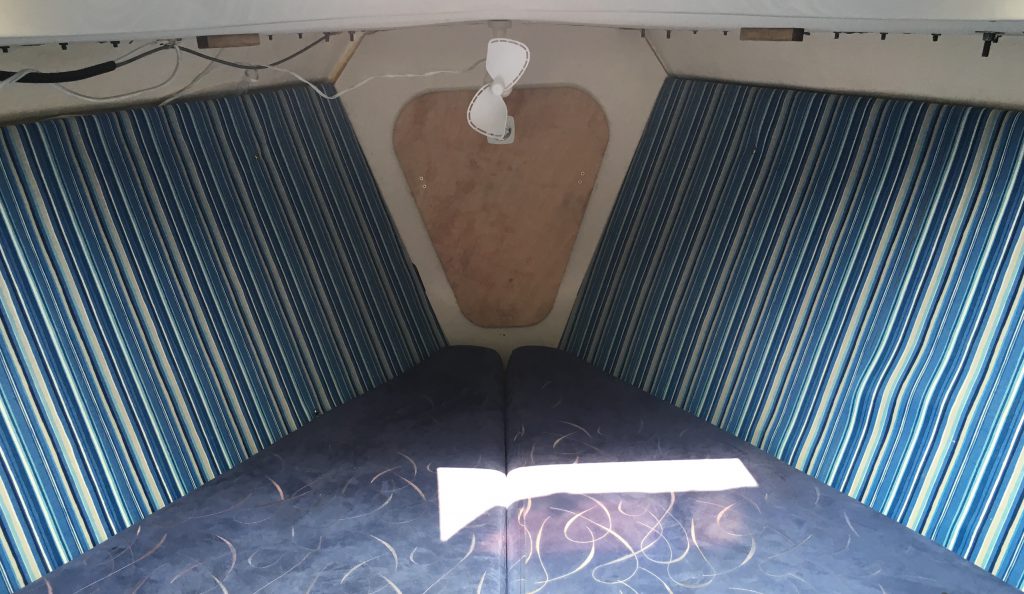
That helped cool the kids, but we wanted something for the V-berth. The boat came with a little Caframo Ultimate, which had a useless suction-cup mount. Les removed that and fabricated a circular mount. He cut a piece of marine plywood with a hole-saw, pre-drilled and counter-sunk for some screws, and used a captive nut on the top for the threaded rod on the fan to fasten to. Holes were predrilled into the ceiling, the mount was attached, and the fan threaded on. We then used some spade terminals to connect it to the previously run wire, and hid the wire in a cable channel/conduit. The cable channel/conduit double-sided tape didn’t have enough stick on the textured fibreglass ceiling, so Lindsay scraped it off and used some 3M 4200 that we had on the go from another project.


Comments: no replies